
Pink doesn’t really stand out in my wardrobe. But that’s not to say that I don’t love the colour. Especially a dusty, soft coloured pink. Add ruffles, and I’m in love! So when I saw this dress by Brandon Maxwell from one of his last collections, I knew I had to make a knock-off version of my own. Especially after having seen the price of it at over $3000!!

I already had the perfect fabric in my stash, which happened to be a beautiful blush pink wool with a tiny bit of stretch in it from The Fabric Store in Melbourne. It needed underlining because it was a little thin and could have potentially been see through with the wrong coloured underwear!


The next step was to find the best pattern for this frilly little lollypop. I searched deep and wide and then found this Cynthia Rowley pattern on the internet that I had planned on buying anyway. It seemed perfect for this dress with a few hacks. I left the collar plain, without ruffles and decided where the best place was to add the ruffles to the skirt and the sleeves. So I basically only used the pattern for the bodice and the sleeves.
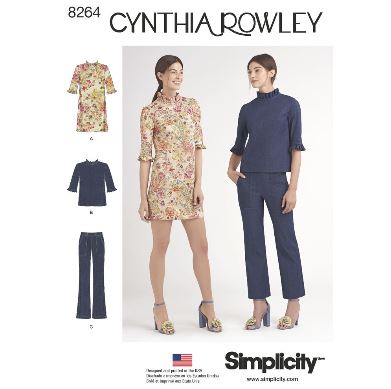 I had read a not-so-good review about this dress pattern and it turning out much larger than it should be for size and fit, so I was a bit sceptical about how it would fit me. But again, I couldn’t be bothered making a muslin and went by the sizing on the pattern envelope. I played it safe and cut size 10, just to make sure it would fit me in the hip area.
Luckily I had a perfectly matched cotton sateen to use for underlining in my stash and light pink thread, so I was able to use up two fabrics without having to buy anything but a zip for this make. Unfortunately, even though I practically used up two fabrics to make this dress, there is no noticeable decline in my stash! That should give you an idea about the size of it! I am trying my hardest to stay away from fabric stores and not add to the stash, but am not always successful if I think there is some kind of fabric I just can’t live without! Still need to work on my restraint because I just don’t have the time to sew as fast as I can buy!

Once the body of the dress was underlined and sewn together, I overlocked the edges and put the invisible zip in the centre back. Then it was time to ruffle! This was the hardest part of the whole project because I had a limited amount of fabric left over for the ruffles. I was sort of guessing the height of the ruffles by looking at every single picture of the Maxwell Brandon dress I could find on the internet. I decided with the amount of fabric I had left, I could afford to make the ruffles 15cm tall each. This meant cutting the fabric into 30cm strips, using the whole width of the fabric and folding it in half. The next step was to figure out the width and depth of each pleat. The problem was, the side seams and back seam all had to have a pleat aligned to them and they all had to be evenly spaced out. So I sat there for quite some time thinking about the mathematics of spacing the pleats out evenly.
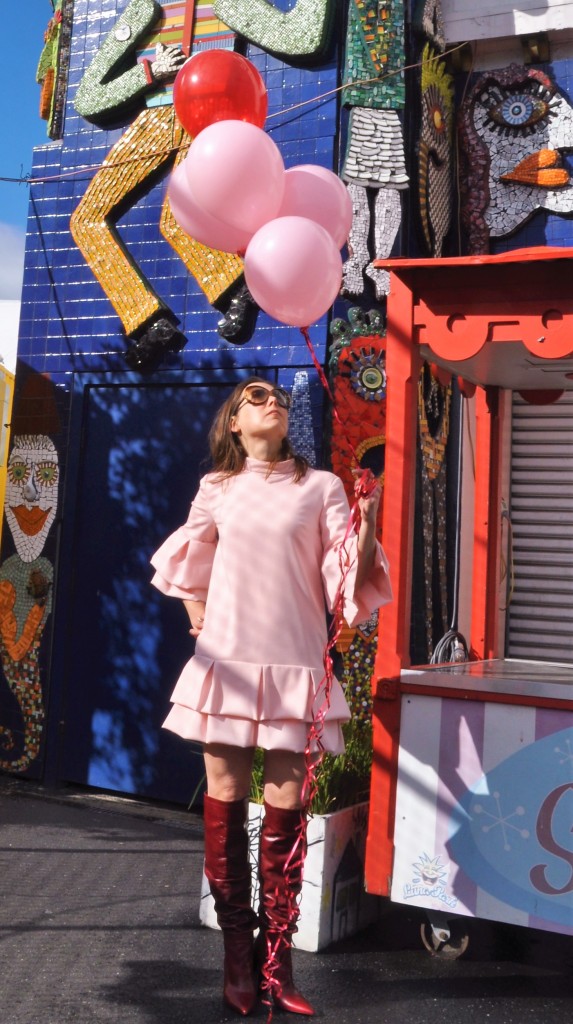

After several attempts at making the ruffles and then having to unpick them, I finally got it right and just needed to decide on the level of ruffle tiers for the skirt and sleeves. I wanted the dress to have a similar length as the original.

The last thing I added to the dress was the stand up collar, which I simply cut on the bias in two layers using the tiny bit of remnant fabric I had.

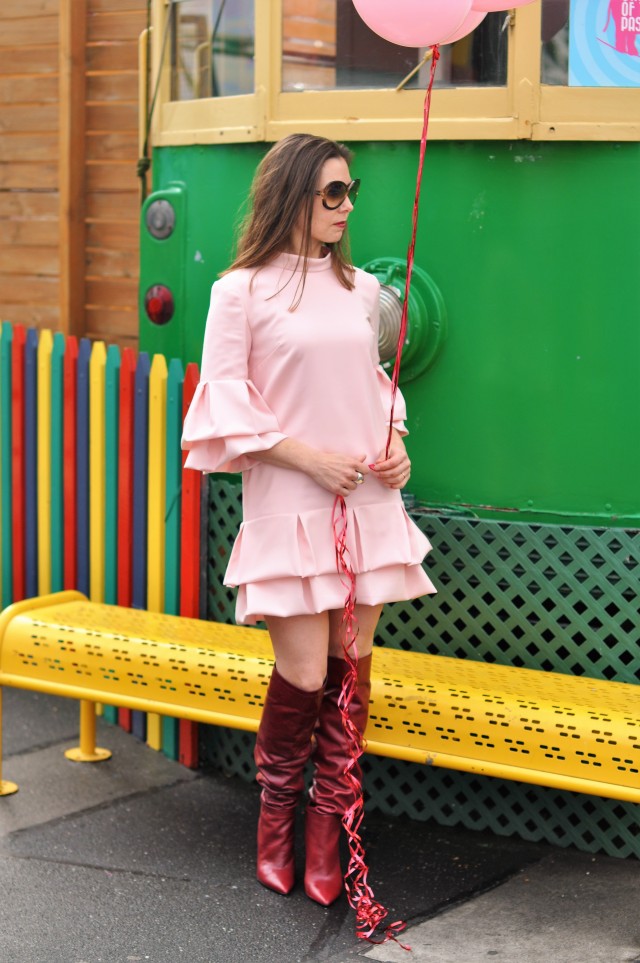
Now that the dress is finished, I think I will try to take the sides in a bit, as it is a bit roomier than the original and I would prefer it to have a slightly smaller waist than it has.

I didn’t iron the ruffles because I thought they would be more voluminous if they weren’t ironed flat. I know they won’t stay that way forever when the dress is dry cleaned or washed, but at least they are nice and fluffy for now!


I am happy with the way the dress has turned out but have to agree with that review on this Cynthia Rowley pattern. It is slightly too large and boxy and I will end up taking in the sides a bit and possibly narrowing the shoulders a little as well.


I will definitely be using this pattern again to make the two garments that it was designed for but may need to go down a size for a more fitted look in the dress. I like to be able to move comfortably in my clothing, but I also prefer it to have a more fitted than loose appearance.


Thank you to my dear friend Meg for spending her day off taking these amazing photos for me!
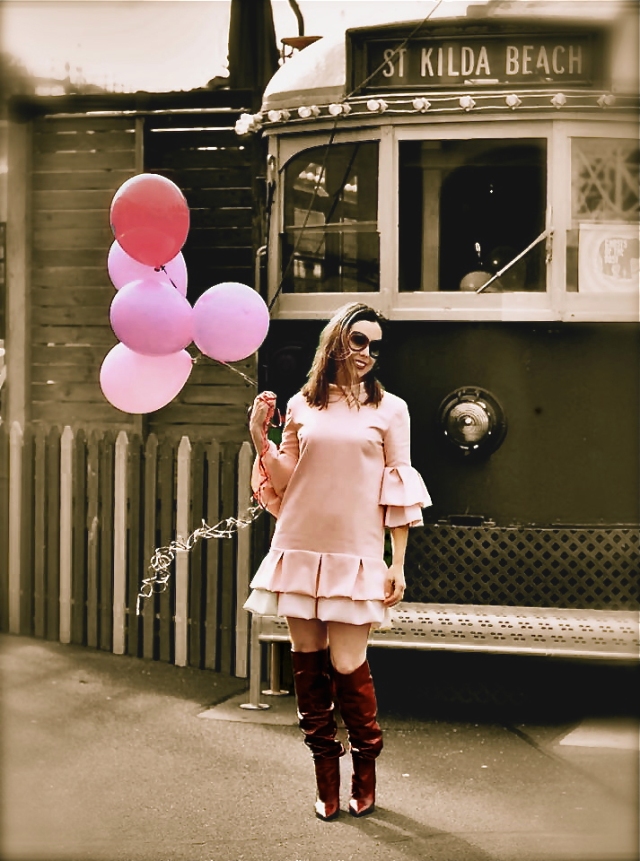
STYLING: boots – Zara, sunglasses – Margot by Tom Ford, ring – Apart Fashion.
LOCATION: Luna Park, Melbourne.
PHOTOGRAPHY: meggi-design.
